Learn How to Install a Custom Cargo Box for Your Golf Cart
Jan 27th 2017
If you’re struggling with the storage capacity of your golf cart, installing a cargo box or utility bed may be the right decision for you. Adding a cargo box is an excellent way to transform your golf cart into a multi-purpose utility vehicle. In fact, modified golf carts are a favorite for non-golfers such as farmers, gardeners, landscapers, and carpenters who benefit from the convenient transportation golf carts provide.
Modifying your cart may seem like a daunting or time-consuming task, but it’s an at-home project worth investing in. With the proper tools and careful application, it’s possible to convert your cart without professional assistance. As every cargo box assembly kit is slightly different, make sure you purchase the mounting kit appropriate for the model and make of your vehicle.
Step 1: Locate Screws and Remove the Canopy
To make room for your new cargo utility bed, you’ll need to remove some of your cart’s preinstalled accessories. If your model comes with a basket or other form of rack assembly, you’ll need to locate the bolts that connect them to the cart and remove them from both of its sides. The majority of models will have four bolts that connect the factory hardware to the main body of your cart.
Carefully remove the struts and take off the cart’s canopy. Do not throw away the hardware, once you’ve removed it, as you will need it later. If you don’t want to completely remove the canopy, use a prop to hold it in place.
Step 2: Remove the Seat of the Cart
Next, take off the seat back of the cart by removing the screws located on either side of the seat’s back (most models will only have two screws). If your model is outfitted with a basket appendage, removing the seat’s screws should also remove the basket. Keep track of screws and other hardware you disassemble, as you will need to reassemble them later.
Step 3: Set the Rear Struts
Make sure there is nothing attached to the rear of the golf cart before proceeding. Once you’ve confirmed you haven’t missed any screws or small appendages, set the struts on the frame. Then, attach the main brackets to both sides of the cart using the hardware provided in your cargo box mounting kit. Mounting hardware is custom made for each golf cart model, so specific assembly instructions may differ at this stage.
Step 4: Attach the Bagwell Brackets
Most mounting kits come with an additional set of brackets called Bagwell brackets, which are shorter than the main set. You’ll need to attach the Bagwell brackets to the floor of the Bagwell using screws or bolts provided in your mounting kit. The Bagwell brackets should be assembled underneath the main brackets.
Step 5: Attach the Rear Struts
Once the rear struts are set, and you’ve successfully attached the Bagwell brackets, you’ll need to connect them to the main set of brackets. The rear struts should be attached securely to both sides of the main brackets. Later, you’ll place your cargo utility box on top of the combined apparatus.
Step 6:Reattach the Seat
Once you’ve connected the main bracket and the rear struts, you will need to reconnect the seatback to the unattached metal portion of the bracket-strut apparatus that is closest to the front of your vehicle.
Step 7:Attach the Cargo Box
Finally, place your metal cargo box on top of the main brackets. The box should have holes that align with the brackets’ frame. If the holes in your box don’t line up or you cannot insert the bolts, remove the box and check the position of the main brackets. Once you’ve aligned the brackets and the cargo box properly, insert and tighten the remaining bolts into your new cargo utility bed.
The overall process of adding a utility box to your golf cart is the same for most modern cart models: disassemble the back rack, remove old hardware, and install the new framework. However, it’s imperative you use hardware tailored to the model of your golf cart, as additional assembly steps may be necessary.
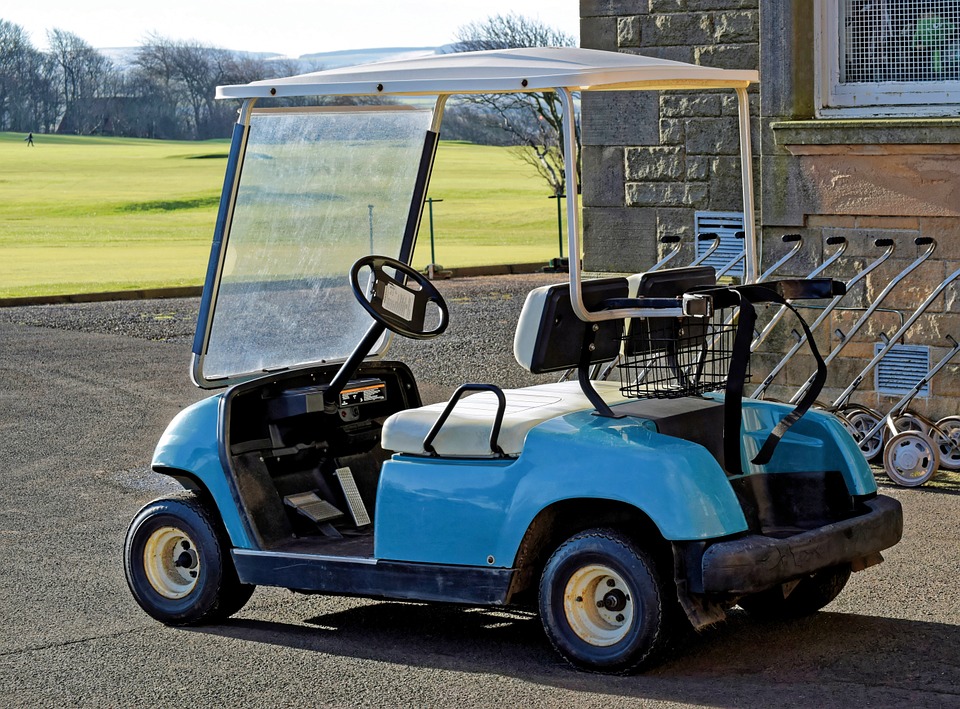
For example, if you drive a 2007 or younger Yamaha G29 cart, you’ll need to take off the motor cover paneling and plastic rivets after you remove the seat back. For these models, the basket rack is inside the motor compartment, and you will need to remove it before attaching the main brackets. If you’re working on a Yamaha G29 or an EZGO TXT, you may need additional items, such as a 7/16 drill to expand the bolt holes on the Bagwell frame.